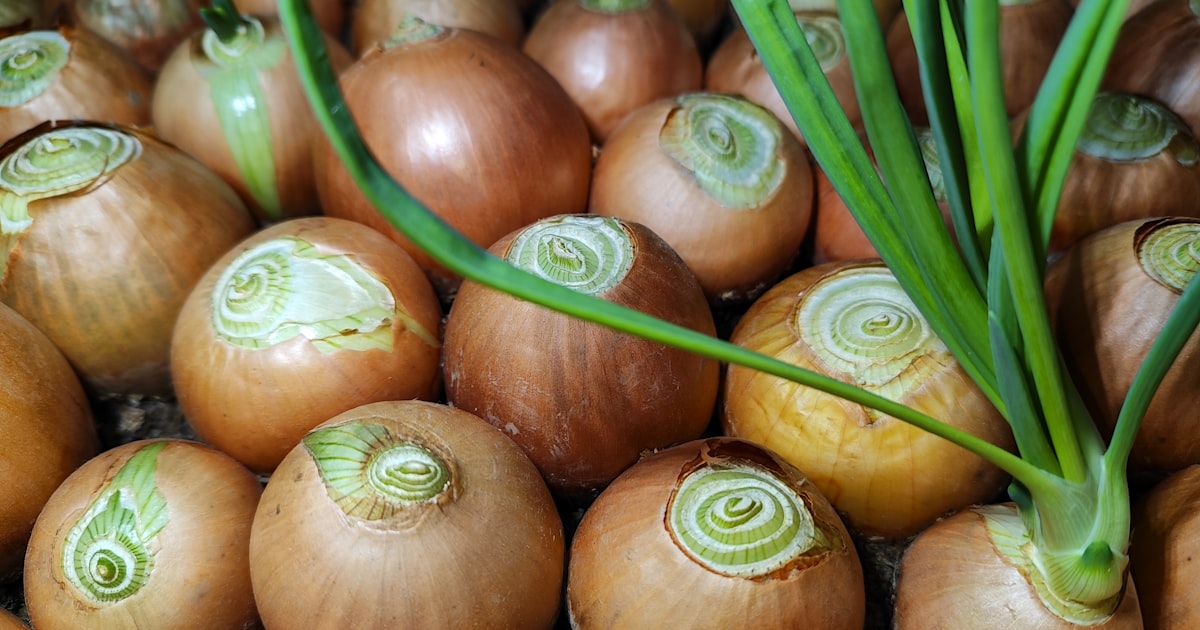
Onions are the quiet workhorse of the kitchen. They show up in almost every savoury dish, they store for months, and growing your own is one of the most satisfying things you can do as a veggie gardener. There’s something deeply rewarding about opening a cupboard full of golden, home-grown onions that you planted, nurtured, and cured yourself.
They do take their time (we’re talking 5 to 7 months from seed to harvest), but the effort is minimal and the payoff is huge. Let’s get into it.
Quick Facts
| Family | Onion/Allium (Amaryllidaceae) |
| Sun | Full sun (6+ hours) |
| Water | Moderate, reduce as bulbs mature |
| Difficulty | Moderate |
| Time to Harvest | 20 to 28 weeks |
| Best Planting Time | Autumn to early winter (most regions) |
Day-Length Varieties: This Is the Key
Here’s the thing most beginners don’t know about onions: they form bulbs in response to day length, not simply time in the ground. This means choosing the right variety for your latitude is absolutely critical. Get this wrong and your onions may never bulb up properly.
Short-day onions start forming bulbs when day length reaches about 10 to 12 hours. These suit tropical, subtropical, and warm temperate zones, including Brisbane, northern NSW, and Sydney.
Intermediate-day onions (also called medium-day) need 12 to 14 hours of daylight to trigger bulbing. These are the best choice for cooler temperate zones, including Melbourne, Adelaide, Perth, and Hobart. Sydney sits on the boundary, so both short-day and intermediate-day varieties can work well there.
Long-day onions need 14 to 16 hours of daylight. These suit the very southern parts of Australia (Tasmania, parts of Victoria) but can be tricky because even these areas don’t always get enough day length.
When buying seed or seedlings, check the label for day-length type. If in doubt, intermediate-day varieties are the safest bet for most Aussie gardeners.
Planting Methods: Seeds, Sets, or Seedlings?
You’ve got three options, and each has its pros and cons.
From Seed
The cheapest option with the widest variety selection. Sow seeds into trays or directly into the garden. Seeds take 8 to 10 weeks to reach transplant size, so factor that into your timeline. Thin or transplant seedlings when they’re about the thickness of a pencil.
From Sets (Small Bulbs)
Sets are small, immature onion bulbs that you plant directly into the ground. They’re easy and establish quickly, but they can be more prone to bolting (going to flower prematurely) and variety selection is limited.
From Seedling Bunches
Many nurseries sell bunches of onion seedlings in autumn and winter. These are the most convenient option and give you a head start. Just separate the seedlings gently and plant them individually.
When and How to Plant
In most of Australia, onions go in during autumn (March to May). This gives them the cool months to establish strong root systems and leafy growth, then they’ll bulb up as days lengthen in spring and early summer.
Plant seedlings or sets about 10 to 15cm apart in rows 25 to 30cm apart. Push them into the soil so the base of the bulb is just below the surface. Don’t plant too deep; the bulb needs to be able to expand at the surface.
For seeds sown directly, scatter thinly in shallow furrows and thin gradually as they grow.
PLANTING REMINDERS
Never miss the onion planting window
VeggieCrush sends you timely reminders when it's time to get your onions in the ground, based on your local climate zone.
Download the free appSoil and Feeding
Onions like:
- Well-drained soil: They hate sitting in wet ground, which causes rot
- Rich, loose soil: Sandy loam is ideal. Heavy clay soil should be amended with compost and gypsum
- Moderate fertility: Work in compost before planting. Avoid heavy nitrogen feeding once bulbs start forming, as this encourages leaf growth at the expense of bulb development
- Slightly acidic to neutral pH: 6.0 to 7.0
A side-dressing of potassium-rich fertiliser (like sulphate of potash) when bulbs start to swell helps them develop well.
Watering
Water regularly during the leafy growth stage to encourage a strong, healthy plant. Once the bulbs start to swell and the tops begin to yellow and flop over (this is the ripening stage), gradually reduce watering. The drying-out process is important for good storage quality.
Stop watering entirely about 2 weeks before harvest.
Companion Planting Benefits
Onions are superstars of companion planting. Their strong scent confuses and deters many common garden pests. Plant them alongside:
- Carrots: Onions deter carrot fly, and carrots deter onion fly. A classic pairing.
- Brassicas: Onion scent helps keep cabbage white butterflies at bay
- Lettuce and beetroot: Good space-sharing companions
- Tomatoes: Onions can help reduce aphid activity around tomato plants
Avoid planting near: Peas and beans. Onions are said to inhibit the growth of legumes.
Harvesting
Onions are ready when the tops yellow, weaken, and fall over naturally. This usually happens in late spring or early summer, depending on when you planted.
Once about half the tops have flopped, you can gently bend the remaining upright ones over to speed up the ripening process. Wait another week or so, then lift the bulbs out of the ground with a fork.
Curing for Storage
This is the step that turns freshly harvested onions into long-storing pantry staples. Curing dries out the outer layers and neck, creating a protective shell.
- Lay harvested onions out in a single layer in a warm, dry, well-ventilated spot. A covered veranda, garden shed, or wire rack works well.
- Leave them for 2 to 3 weeks until the outer skins are papery and the necks are completely dry.
- Trim the roots and cut the tops to about 3cm (or leave them long if you want to braid them).
- Store in a cool, dry, dark place with good airflow. Mesh bags, old stockings, or wire baskets all work well.
Well-cured onions can store for 3 to 6 months or even longer, depending on the variety. Strong-flavoured, brown-skinned varieties tend to store the longest.
HARVEST TRACKING
Know when your onions are ready
VeggieCrush tracks your planting dates and estimates harvest windows, so you never miss the perfect time to pull your onions.
Download the free appCommon Issues
Bolting (going to flower): Caused by temperature stress, particularly cold snaps followed by warm spells. Bolted onions won’t store well, so use them quickly. Choose bolt-resistant varieties and plant at the right time for your area.
Neck rot: A fungal disease that shows up during storage. Prevention is key: cure onions thoroughly, avoid storing damaged bulbs, and ensure good airflow during storage.
Onion fly/maggot: Larvae that tunnel into the base of the bulb. Companion planting with carrots helps. Fine netting can exclude the adult flies.
Small bulbs: Usually means the wrong day-length variety for your area, overcrowding, or insufficient feeding during the growth phase.
Thick necks: Often caused by too much nitrogen late in the season. Stop nitrogen feeding once bulbs begin to swell.
Varieties Worth Trying
- Early Cream Gold: Popular intermediate-day, great all-rounder for most of Australia
- Red Tropea: Beautiful elongated red onion, mild and sweet
- Brown Spanish: Classic brown onion, stores well
- White Lisbon: A spring onion type, quick growing and versatile
- Gladalan Brown: Reliable short-day variety, strong flavour, best suited to warmer zones
The Bottom Line
Growing onions requires patience, no getting around that. They’re in the ground for half a year. But the effort involved is minimal, just plant them, feed them, water them, and wait. The reward is a cupboard full of your own onions that will last months and taste better than anything from the shops.
There’s a quiet pride in being able to say, “I grew those.” And with onions, you’ll be saying it every time you cook.
Happy growing!
Get the VeggieCrush App
Join thousands of Aussie gardeners growing better with personalised planting reminders, pest alerts, and expert advice.
Available for iOS. Android COMING (not available yet). No credit card required